


Planning
Kitchen Refresh on a Budget: 7 Small Changes to Plan First
Keep what works, clear what gets in the way and choose one visible change. A practical kitchen refresh starts before the shopping list.
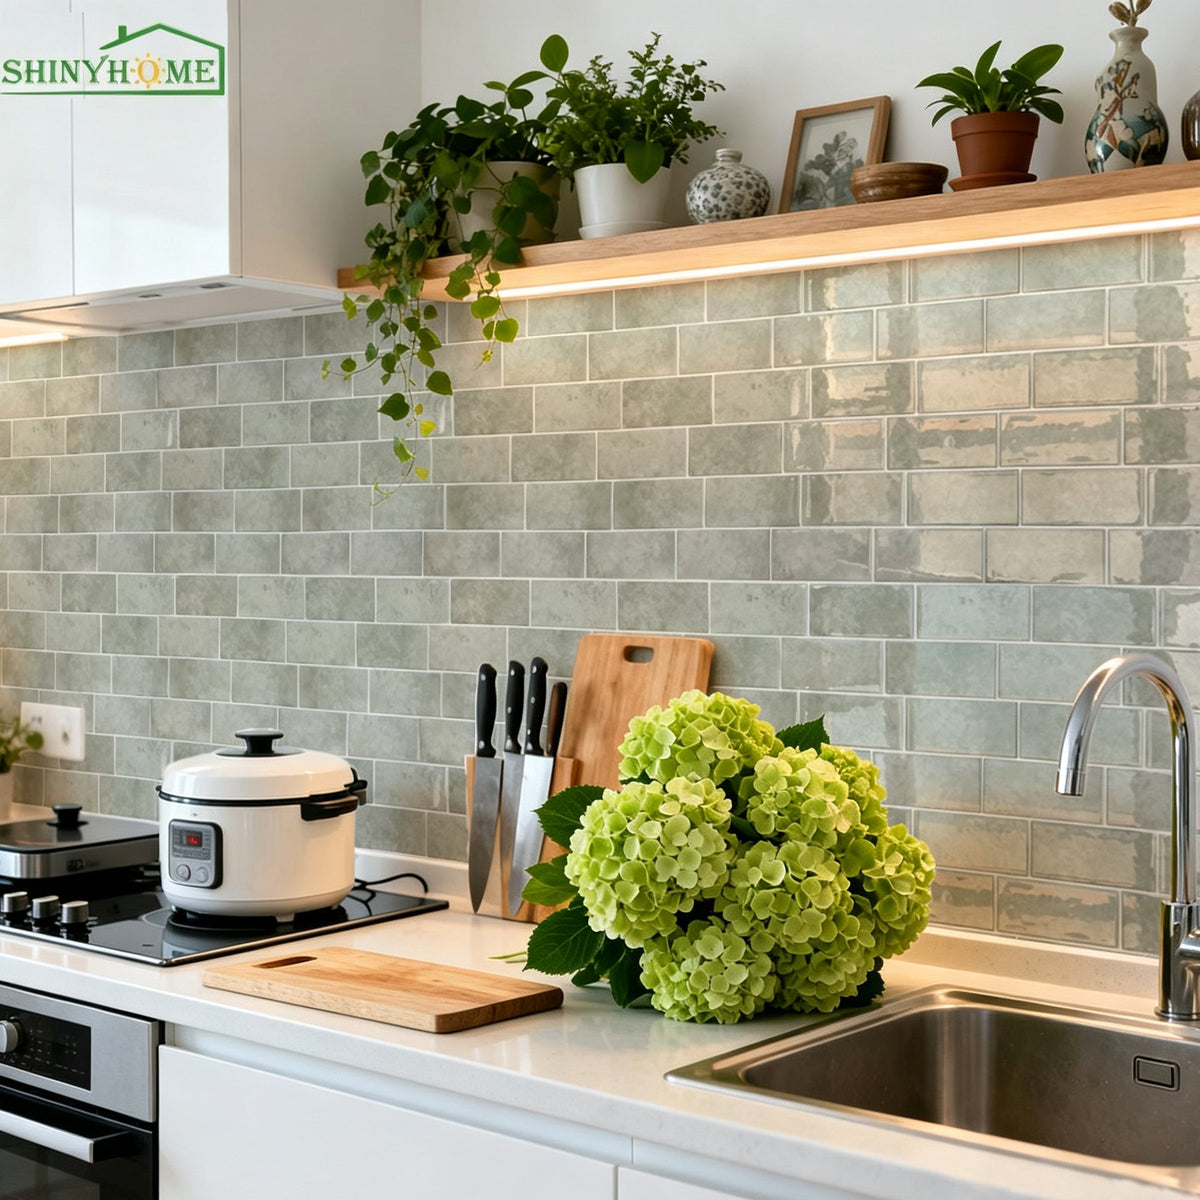
A kitchen refresh on a budget is easier to plan when you separate what needs fixing from what simply needs a new arrangement. Start with the cabinets, appliances and countertop you intend to keep. Then choose one visible improvement and a few practical changes that make the room nicer to use.
Before spending: take a “before” photo, clear one counter and write down the single thing you most want to change. Use that short brief to decide what belongs in the project—and what can wait.
1. Make three lists: keep, improve and repair
Put sound cabinets and working appliances on the keep list. Put changes such as a new backsplash or better countertop organisation on the improve list. Put leaks, loose fittings and damaged surfaces on the repair list.
Deal with repairs before adding a decorative finish. Covering an unresolved problem can waste the decorating budget. If the existing layout works, you can concentrate on the view you see every day without pretending a cosmetic update is the same as a full renovation.
2. Reset the counter before buying storage
Remove items you use only occasionally. Group daily cooking tools near the preparation area and coffee supplies where you make drinks, keeping appliance clearances and ventilation unobstructed. Try the arrangement through a few normal routines.
Only then decide whether you need an organiser. A tray, jar or basket from another room may already do the job. Measure what remains before buying containers; the goal is a clearer working area, not a row of matching boxes with no useful purpose.
3. Choose one visual change that connects the room
A backsplash can provide a new colour or pattern while the larger fixed finishes stay. A quieter subway design, a soft checkerboard or a defined mini-mosaic corner each offers a different direction. Our small-kitchen pattern guide helps you compare them without treating every wall as a feature.
Check surface suitability first. Peel-and-stick wall tiles are a decorative option, not a fix for damp, loose paint or an uneven base. Include any necessary preparation in the plan before comparing tile costs.
4. Compare the whole project cost, not the first price
Write down the wall area, usable sheet coverage, selected pack size and an allowance for cuts. A listing's single-sheet price and its multi-sheet pack price are different purchases. Add the preparation materials, fitting tools, delivery and any taxes shown for your order.
Use our tile quantity guide to check the estimate. Do not buy unnecessary sheets just to reach a shipping threshold; compare the delivered total for the quantity your layout actually needs, including sensible spares.
5. Test the colour before changing the accessories
Choose a single sheet where available and compare it with the countertop and cabinet fronts under your own lights. Keep the backing on for the initial colour check. Once you have chosen the wall finish, repeat one of its colours in something small you already own.
For example, a sage checkerboard can be the colour feature while the rest of the counter stays simple. A white subway backdrop lets a darker kettle, timber board or favourite ceramics stand out. Neither direction requires replacing everything at once.
6. Plan the cuts before opening all the sheets
Check the product, quantity and condition on arrival. Dry-plan the layout, including sockets, corners and exposed edges, following the installation guidance. Keep suitable offcuts and unused sheets with their product information for later use.
A short planning session can reveal a narrow edge piece or an awkward pattern join before you cut. Do not base the order on the assumption that every offcut will fit somewhere else; useful reuse depends on the design and orientation.
7. Finish with a routine you can maintain
Keep cleaning access clear and return only useful objects to the counter. Follow the product's care instructions for the new finish. Take an “after” photo from the same place as your first picture, then live with the changes before starting another shopping list.
Quick questions
Can I refresh a kitchen without replacing the cabinets?
Yes, if the cabinets and layout still work for you. Reorganising the counter and choosing a suitable new wall finish can change the appearance without replacing sound units.
How much should I budget for a peel-and-stick backsplash?
There is no useful flat amount without the wall size and product choice. Calculate the required sheets or packs, then include preparation, tools and the actual checkout delivery and tax costs.
Start with the change you will notice daily
See real room transformations, then compare tile styles and pack options. A considered refresh begins with a manageable brief, not a full kitchen replacement.
A little more inspiration

Christmas Kitchen Decor
Christmas Kitchen Backsplash Ideas: 3 Cozy Color Pairings
Bring Christmas warmth to your kitchen with burgundy, ivory cream, and olive green backsplash pairings, simple festive accents, and looks to enjoy beyond the holidays.
Read the guide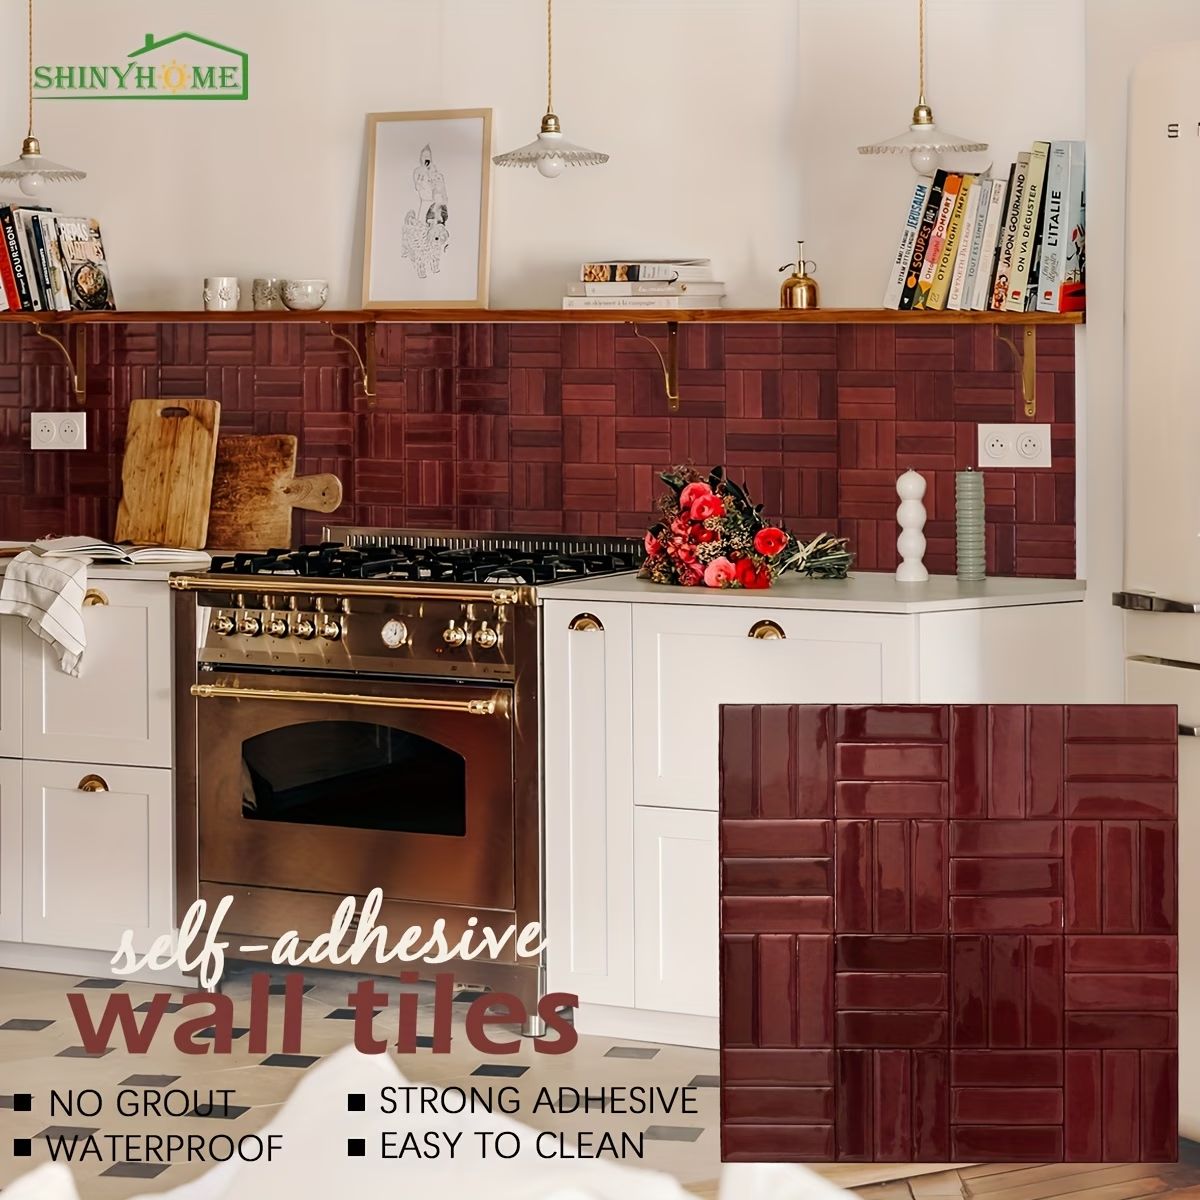
Basketweave
Basketweave Peel-and-Stick Backsplash: 4 Kitchen Color Ideas
Compare burgundy, olive, beige and forest green basketweave wall tiles. Find a kitchen pairing you love, then plan your layout and single-sheet trial.
Read the guide
Color planning
Backsplash Ideas for Black Countertops: 5 Ways to Find Your Balance
From warm ivory to olive green and burgundy, explore five practical ways to choose a backsplash that balances black countertops, cabinets, and the rest of your kitchen.
Read the guide